

An asphalt shingle roof replacement on an average-sized home can often be completed within one to two days. Larger roofs, steep slopes, complicated rooflines, poor weather, ventilation work, and damaged plywood can extend the project. A proper roof replacement process includes property protection, old-material removal, decking inspection, underlayment, flashing, shingles, ridge caps, ventilation, debris cleanup, magnetic nail collection, and a final walkthrough.
One to Two Weeks Before Installation
The preparation stage begins after the proposal, materials, color, warranty, and scope have been approved. Connecticut homeowners should receive a written contract covering the work, materials, project timeline, payment schedule, contractor registration number, and cancellation period. The contract should also clarify who will obtain any required building permit.
We recommend reviewing these details before confirming the installation date:
- Shingle brand, style, and color
- Tear-off and disposal scope
- Underlayment and leak-barrier products
- Decking replacement price, when needed
- Flashing and ventilation work
- Property protection plan
- Cleanup and final inspection process
- Material and workmanship warranties
A pre-project roof inspection can also identify visible leaks, sagging, damaged flashing, ventilation problems, and possible moisture concerns before tear-off begins.
How to Prepare Your House for Roof Replacement
Roofing work creates vibration, dust, noise, and falling debris. A few simple steps can protect belongings and make the work area safer.
Inside the home:
- Remove fragile wall decorations and unsecured shelf items.
- Cover belongings stored in the attic.
- Move vehicles out of the garage before work starts.
- Prepare children and pets for several hours of loud impact noise.
- Protect sensitive electronics or equipment from dust and vibration.
Outside the home:
- Move vehicles away from the driveway and garage.
- Relocate patio furniture, grills, planters, and decorations.
- Cut the grass so dropped nails are easier to locate.
- Mark sprinkler heads, invisible fences, and delicate plantings.
- Unlock gates and keep access routes clear.
- Notify nearby neighbors about the expected work schedule.
Nor’East Exteriors also recommends clearing the driveway, securing valuable indoor items, and informing neighbors before installation day.
Day 1: Property Protection and Tear-Off
A roofing contractor property protection plan in CT should begin before any old material is removed. Tarps or protective coverings may be positioned over shrubs, decks, siding, air-conditioning equipment, and other vulnerable surfaces. Plywood sheets may also be used near doors, windows, or high-traffic areas when additional protection is needed.
The crew then removes the old shingles, underlayment, flashing, and roofing nails. Debris should be directed into a designated container rather than allowed to accumulate around the property.
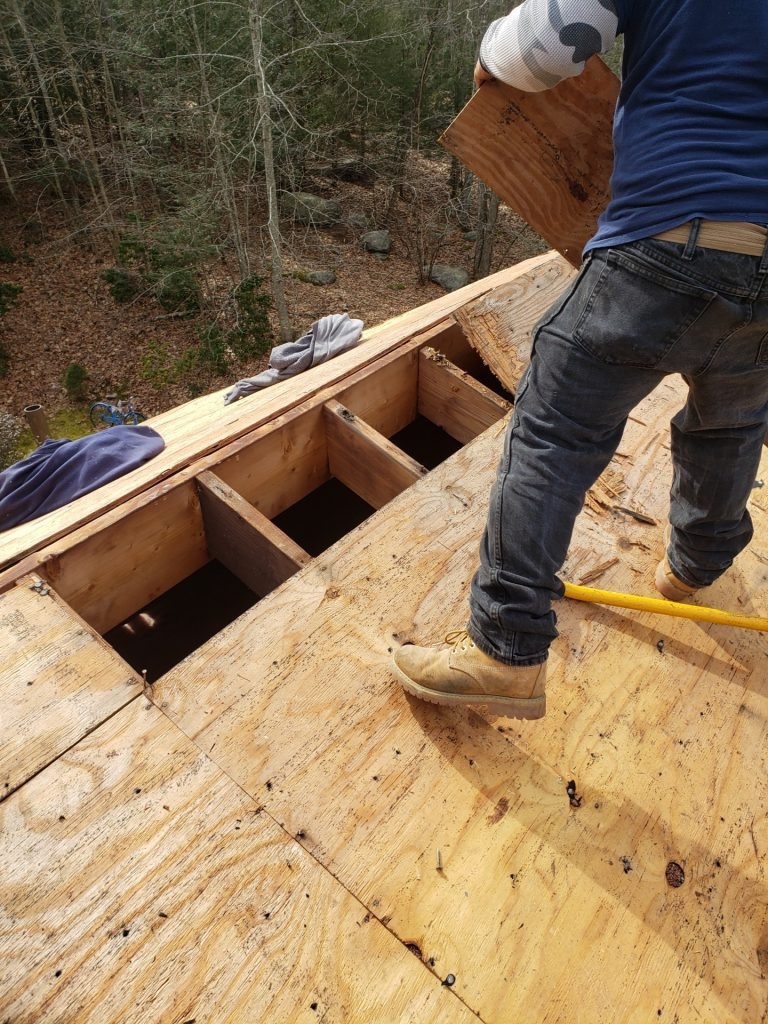
Tear-off usually exposes the plywood or OSB roof deck within a few hours. Once visible, the deck can be evaluated for rot, moisture damage, holes, or weak sections. Hidden damage cannot always be confirmed from the exterior, so decking repairs may require a written change to the original scope.
Day 1 or Day 2: Building the New Roof System
After damaged decking is replaced, the new roofing system is installed from the deck upward.
The usual sequence includes:
- Securing and preparing the roof deck
- Installing drip edge and leak protection
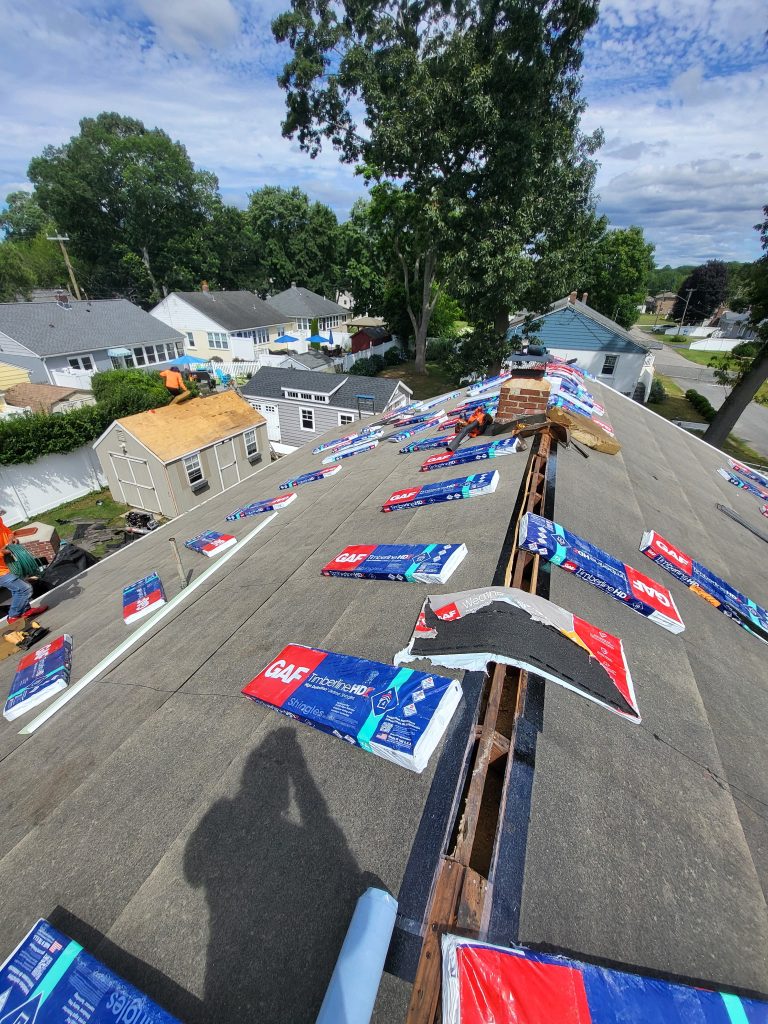
- Applying underlayment across the deck
- Installing starter shingles
- Nailing field shingles in the required pattern
- Replacing or sealing flashing
- Completing ventilation components
- Installing ridge-cap shingles
Underlayment creates a secondary water-shedding layer between the deck and shingles, helping protect the home from wind-driven rain and moisture intrusion.
Weather can affect this schedule. Rain, frost, high wind, or unexpected decking repairs may delay completion. A responsible contractor should explain how exposed areas will be protected and how weather-related changes will be communicated.
Final Cleanup and Magnetic Nail Sweep
Cleanup should happen throughout the installation, not only after the final shingle is installed. The crew should remove packaging, old roofing, loose granules, nails, and debris from gutters, lawns, decks, and hardscapes.
A magnetic sweep should cover the driveway, walkways, lawn edges, landscaping, and material staging areas. Since nails can settle into grass or gravel, more than one pass may be needed.
Nor’East Exteriors emphasizes job-site cleanliness, clear communication, final cleanup, and professional results from consultation through completion.
After Installation: Homeowner Checklist
Before the project closes, walk around the property with the contractor and review:
- Finished shingles, ridges, valleys, and flashing
- Gutters and downspouts
- Landscaping and hardscape condition
- Attic or ceiling areas with prior leaks
- Remaining materials
- Cleanup and nail collection
- Warranty and product documentation
- Final invoice and approved changes
Our goal is to make the residential roofing process organized, transparent, and respectful of the property. With clear expectations before installation day, homeowners can prepare for temporary disruption while feeling confident about every stage of the new roof.